If you have ever tried to use virtual machines for local web development while connected to a VPN, you may have encountered connection issues. This is often caused by the configuration of the VPN routing normally private IP subnet ranges through it and ignoring your local hosts file.
Typically these local development environments will use addresses in the 192.168.0.0/16 or 10.0.0.0/8 blocks, which are reserved for local communication within a private network. Normally this doesn’t conflict with anything on a standalone machine, but sometimes these blocks might be used internally by corporate private networks and thus included in the VPN configuration.
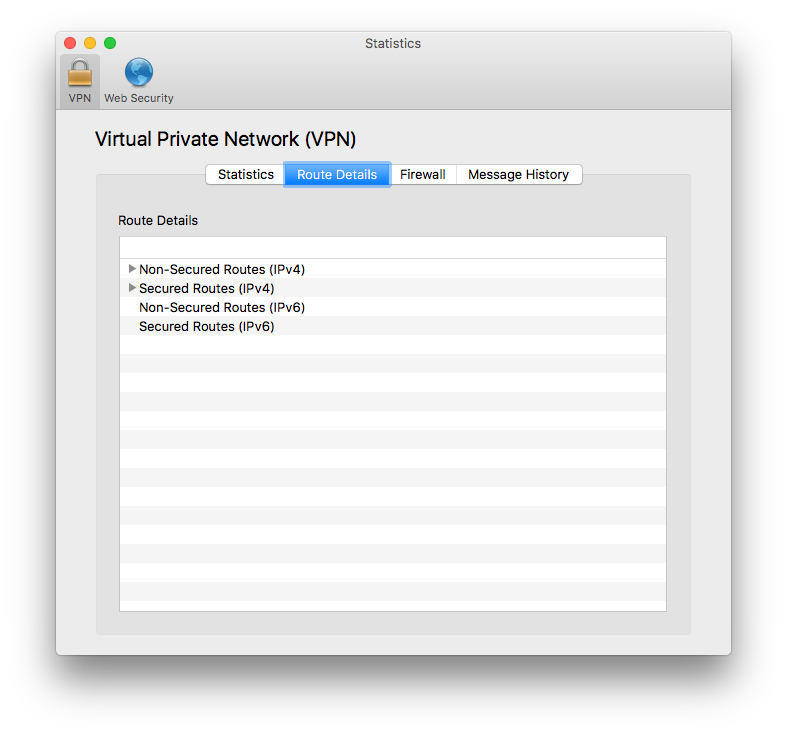
The first step to fix this is to identify an IP that won’t get routed through the VPN, but also preferably won’t be in use by another server. If you use Cisco AnyConnect, you can see a list of IP blocks configured to go through the VPN on the statistics window under Route Details.

Compare that list to the list of reserved IP addresses to find a block that won’t already be in use. In my case, I had to use the 192.0.2.0/24 block, which is set aside for documentation and examples.
Once you’ve identified a suitable alternative, you can configure your local environment to use an IP in that subnet.
Varying Vagrant Vagrants
If you are using VVV, this is an easy fix. In your vvv-custom.yml file, simply add a vm_config setting for private_network_ip. It would look something like this:
vm_config:
  memory: 2048
  cores: 1
  private_network_ip: 192.0.2.100Code language: CSS (css)
After that, just run vagrant provision and it should use that new IP address going forward.
Local by Flywheel
It’s a little tougher to solve in Local by Flywheel, but only involves two small changes.
First make sure that Local is completely closed and the virtual machine is powered down.
Then, in ~/.docker/machine/machines/local-by-flywheel/config.json look around line 22 for the HostOnlyCIDR setting. You’ll want to change this to the block you intend to use. In my case, I used this setting:
"HostOnlyCIDR": "192.0.2.1/24",Code language: JavaScript (javascript)Finally, open up ~/Library/Application Support/Local by Flywheel/machine-ip.json and change the IP address to be the specific address in this block that you’d like to use for this VM. Similar to the VVV instance above, I used 192.0.2.100.
Once you make those changes, start Local and it should prompt you to rebuild your hosts file before you start up individual sites.
Note: If you’re ever using both VVV and Local at the same time for some reason, then you’ll want to chose different IP addresses so they don’t conflict.